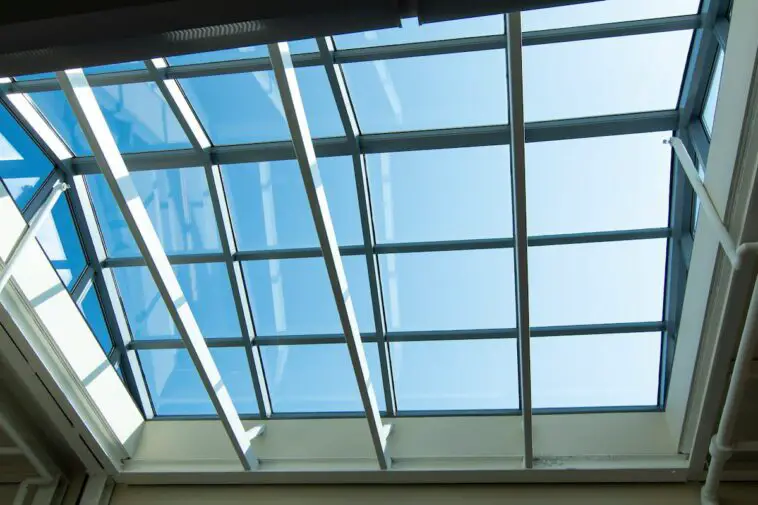
Skylight installation is a great example of home improvement. This feature allows direct sunlight into our rooms, which makes it bright. So, the environment of our house always remains welcoming. On the other hand, it reduces the use of electric devices like heaters, lights, etc.
So, installing skylight features creates a suitable environment and improves energy efficiency. However, people usually hesitate about adding this feature for leaking issues. But with this guideline, you can easily install this home improvement feature at your house.
Potential Spot Assessment
Installing a skylight is one of the best ways to improve the interior of a house. It helps the sunlight penetrate the house. So your dark room will get natural sunlight during the day. However, it is important to identify the best place to install Skylight features.
There are plenty of factors that need to be considered while thinking about skylight installation. Especially in cool areas, installing in the direct path of sunlight will work better. In addition, room layout, interior design, roof structure, etc. also play a vital role in potential skylight installation spot assessment.
However, this home improvement feature is not an idle choice if you are living in an area that has heavy snowfall or heavy rain. Because those environmental conditions will increase the chances of a leak or moisture damage.
Cut an Opening Spot In The Roof
Skylight installation comes with a detailed guideline. You can’t skip any steps to avoid wasting time and damage. So, when you have selected the best spot, mark the roof according to the size of the skylight. Then recheck the dimensions again and choose a saw for cutting the roof deck. You can either use a reciprocating saw or a circular saw for skillful cuts.
Remember, cutting the opening is a precarious job to determine proper installation. If you make a mistake, then the whole roof may need to be replaced or relocated. So, if you have done that before, then go for it or leave it to professional companies like Ottawa Metal Roofs.
However, you could use a DIY method to do that, but any kind of silly mistake will cost you a fortune. While cutting the roof deck, try to fit it between two joints. It helps to protect the skylight with a structural advancement.
Install a Barrier
Skylight installation is a tricky job. One mistake could ruin the entire process and reduce the integrity of the roof. So, the process goes through multiple flashing integrations. Those flashings not only improve strength but also secure them from potential damage.
However, during installation, make sure the self-adhesive flashing is applied on every cutting side. First, settle the flashing on the edges of the roof deck, then cut the other part and make it double. So that nothing could go inside the roof, especially water or snow.
The barrier helps reduce water leakage during heavy rain. It also increases the lifespan of the skylight. Lastly, use a roofing nailer to cover all sides of the sill.
Place the Skylight
When all the previous steps are done then the skylight setup will be easy. But before placing the skylight on the roof, you have to ensure the cutting area is properly framed or not. For instance, you can use a custom-sized frame or you can find it along the skylight shipment. On the other hand, there are several ways to secure the roof joints that could endure the weight of the feature.
So, before placing the application, make sure the deck is secure. After that, check if the barrier is properly installed. If you miss anything, it will weaken the installation. However, after making sure everything is alright, move on to the next step. In that case, you will see a flange edge on your skylight unit. Carefully use 1.25-inch roofing nails on each edge to secure the position.
Then use roofing screws to secure the skylight feature into the frame. You could use other types of screws. But specialized roofing screws are best for metal roofs. And they do not leak water during heavy rain. On the other hand, 1.25-inch roofing nails also help secure the unit. But the screws improve the strength of the whole installation.

Seal Edges of The Skylight Installation
As we know, the skylight feature is in a compromised place. So, without proper sealing, the installation will not last longer. There are plenty of sealing components available, such as cement, sealant, etc. But you have to be very careful about using sealant on the metal roof. On the other hand, the sealant must be a watertight seal. Otherwise, there is no value in applying sealant.
However, using a sealant is a secure layer of protection against liquid. It prevents any kind of fluid flow in any season. So, it will act like another barrier. Besides, while applying seals, make sure it is properly applied on every edge.
Install All Necessary Flashing Features
Flashing elements are meant to secure the skylight with optimum strength. That includes four types of flashing features. However, after setting up the skylight on the designed curb frame, you have to acknowledge installing sill flashing. Every skylight unit comes with a U-shaped piece of flashing that goes to the bottom sill. After setting the sill flashing, you could use shingles to cover the sill flushing.
After that, you have to install an L-shaped step flashing piece. The step flashing goes near the bottom. When it is installed on both sides, then use shingles to cover it up. In the third step, you have to install counterflashing. In this process, the step flashing becomes secured, preventing any kind of snow or rain from blowing under the edge of the skylight.
Lastly, the saddle flashing comes and completes the installation. However, this process is similar to the sill flashing, but it is situated on top. After successfully installing all the flashing, the skylight feature will be all set and will last for a long time.
Final Word
With professional help, your skylight installation on a metal roof will be successful. In that case, this guideline will help you understand how you can DIY the whole process. But if you are determined to reduce property damage, then hire a professional to install a skylight on your roof.